CG Art
CG Art
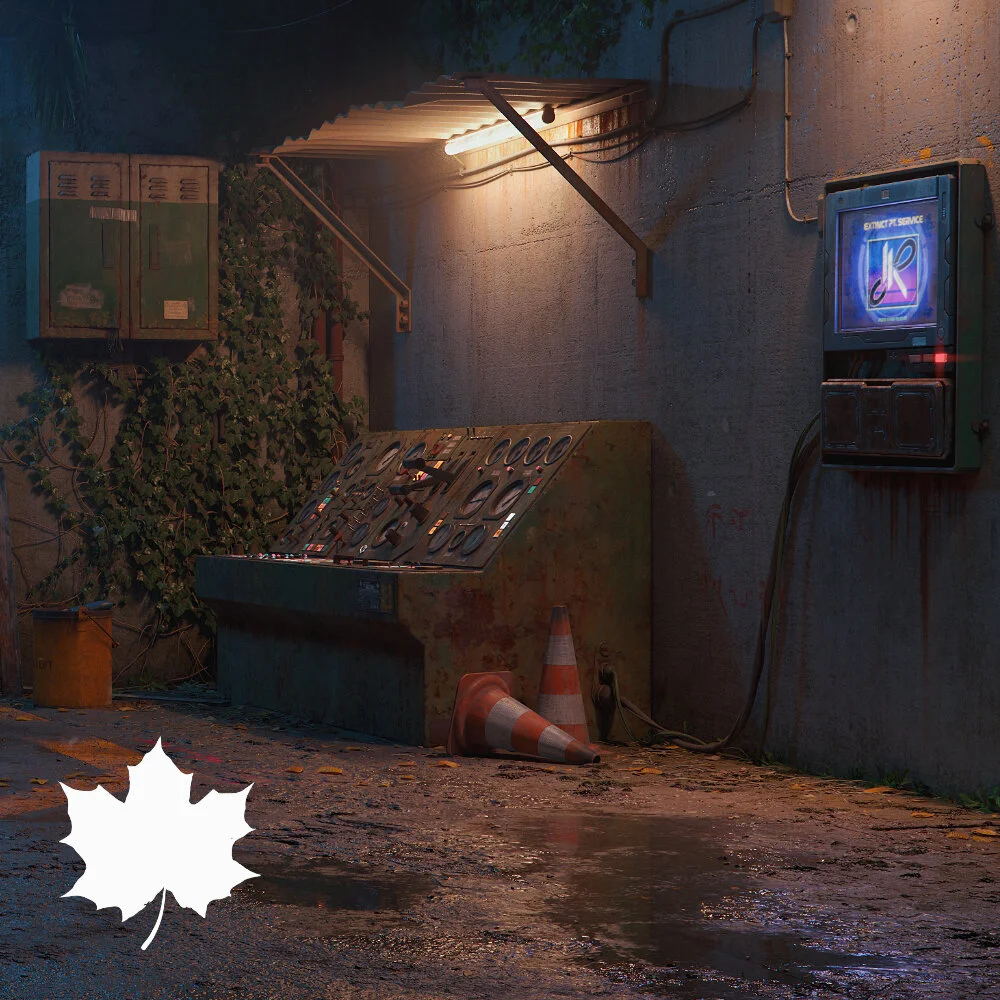
"... Model 22-H uses a synthetic based formula based on a single strand of the origin project "Mother"...."
Image created with : CINEMA 4D , MOI3D Processed with : Octane Render , Photoshop CC
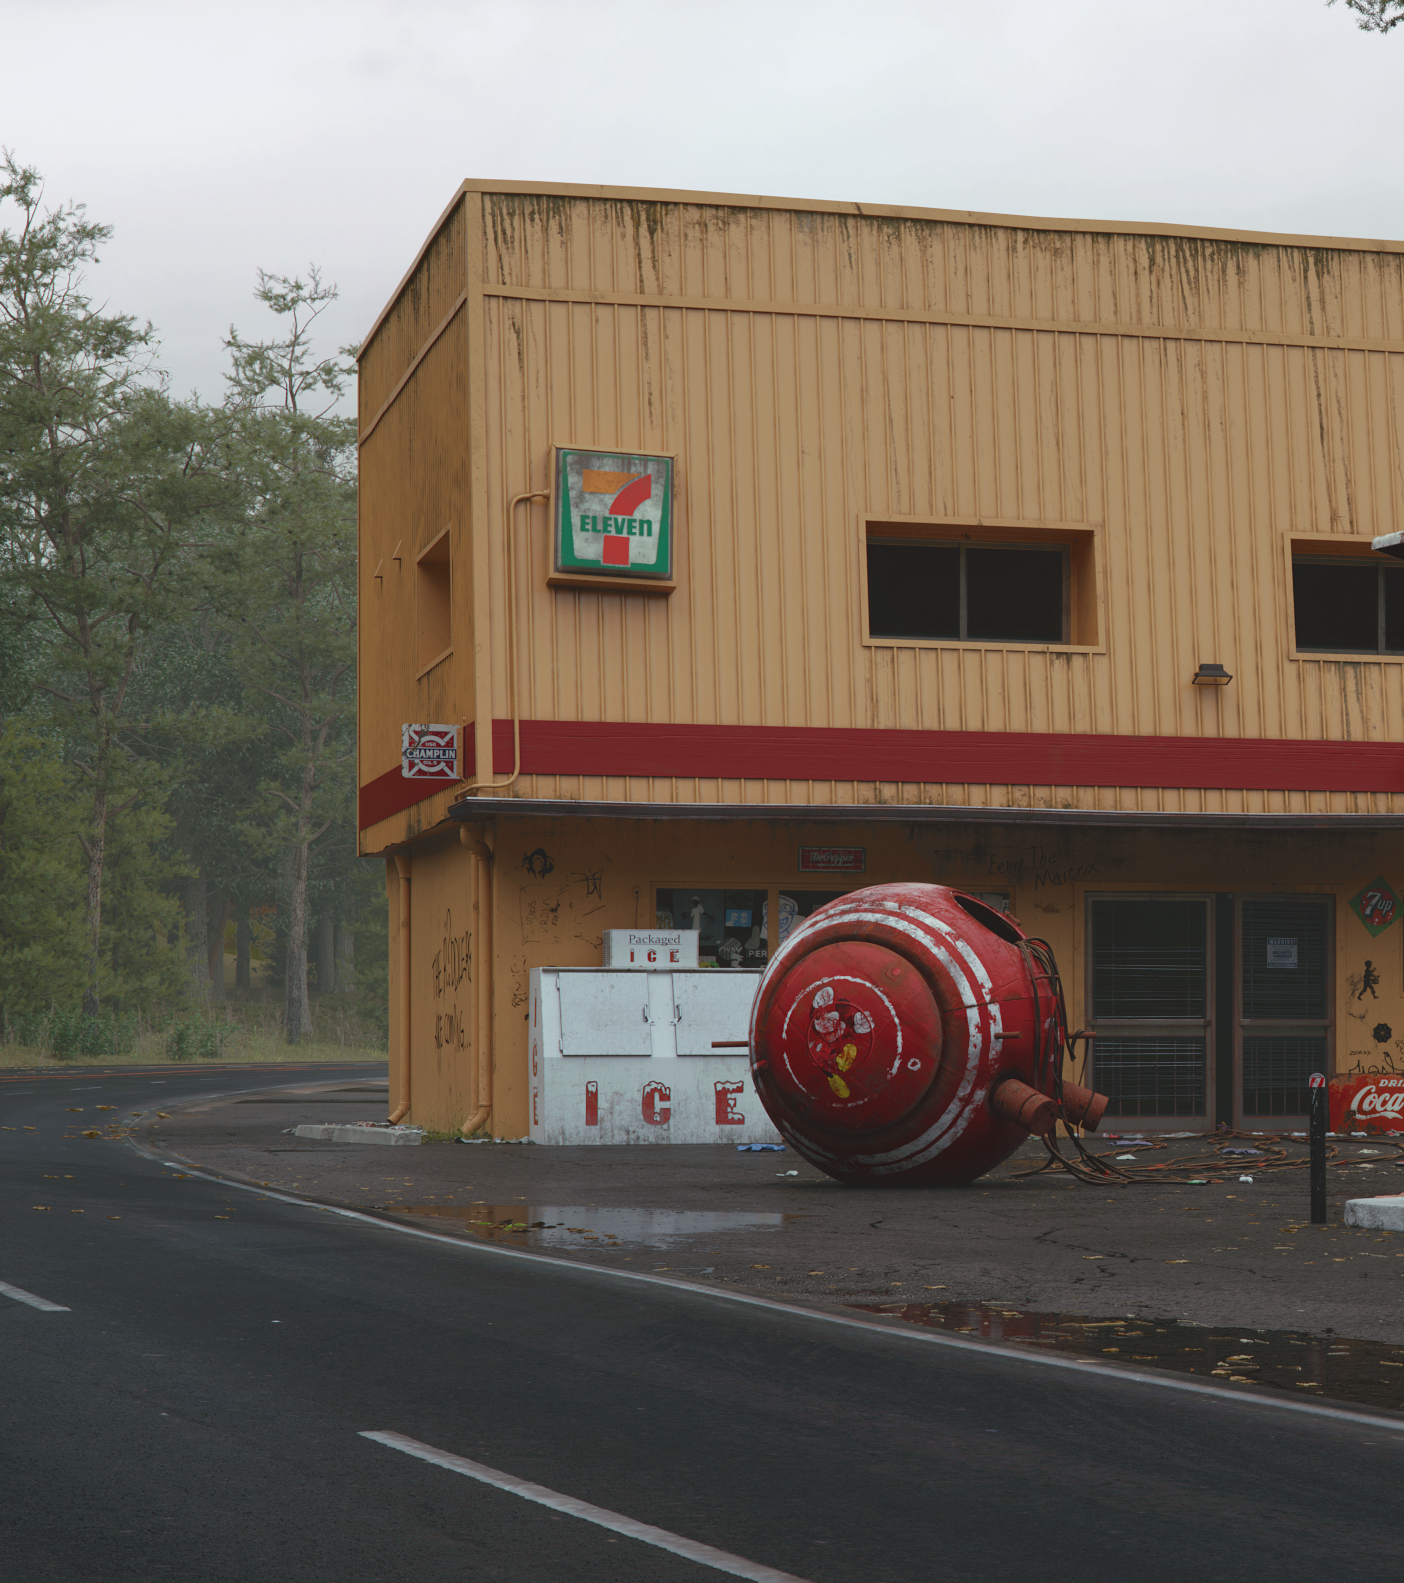
".... Jeez, these guys really are investing every penny they make to escape this place!. ...It doesn't matter,Max, just keep moving... "
Created with : CINEMA 4D,MOI3D,Substance Designer,Daz3D,Marvelous Designer Processed with : Octane Render , Photoshop CC
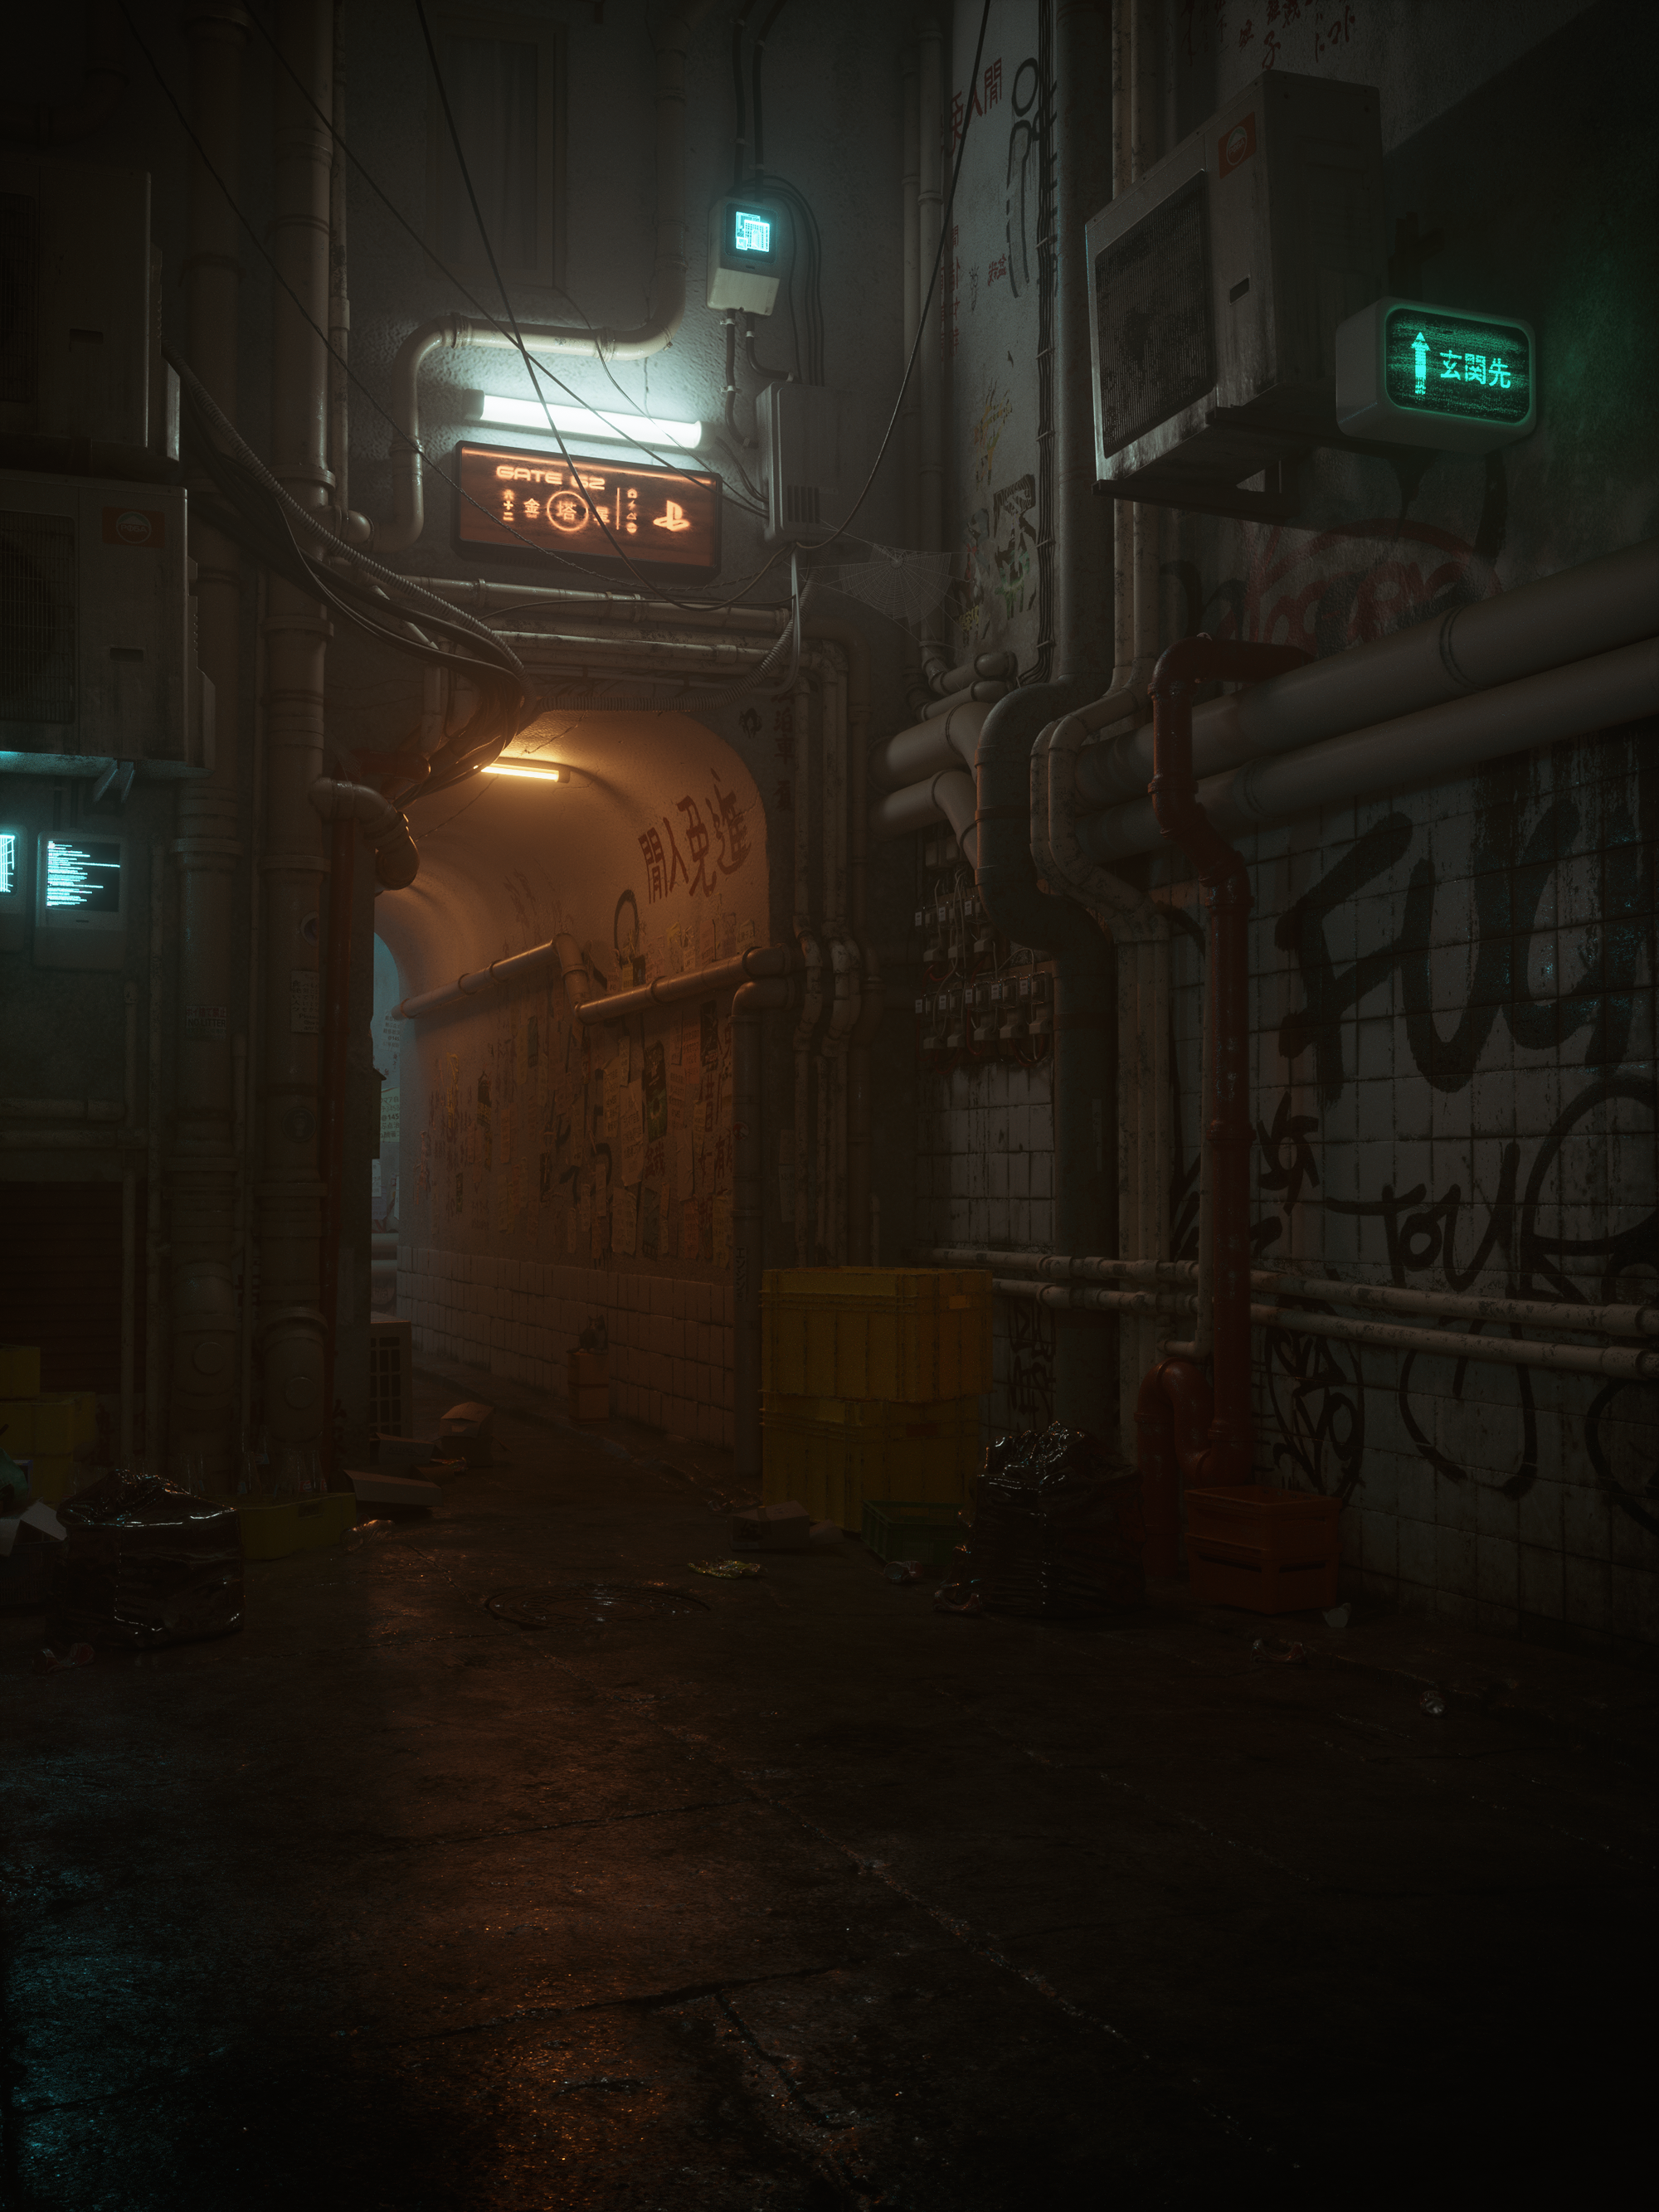
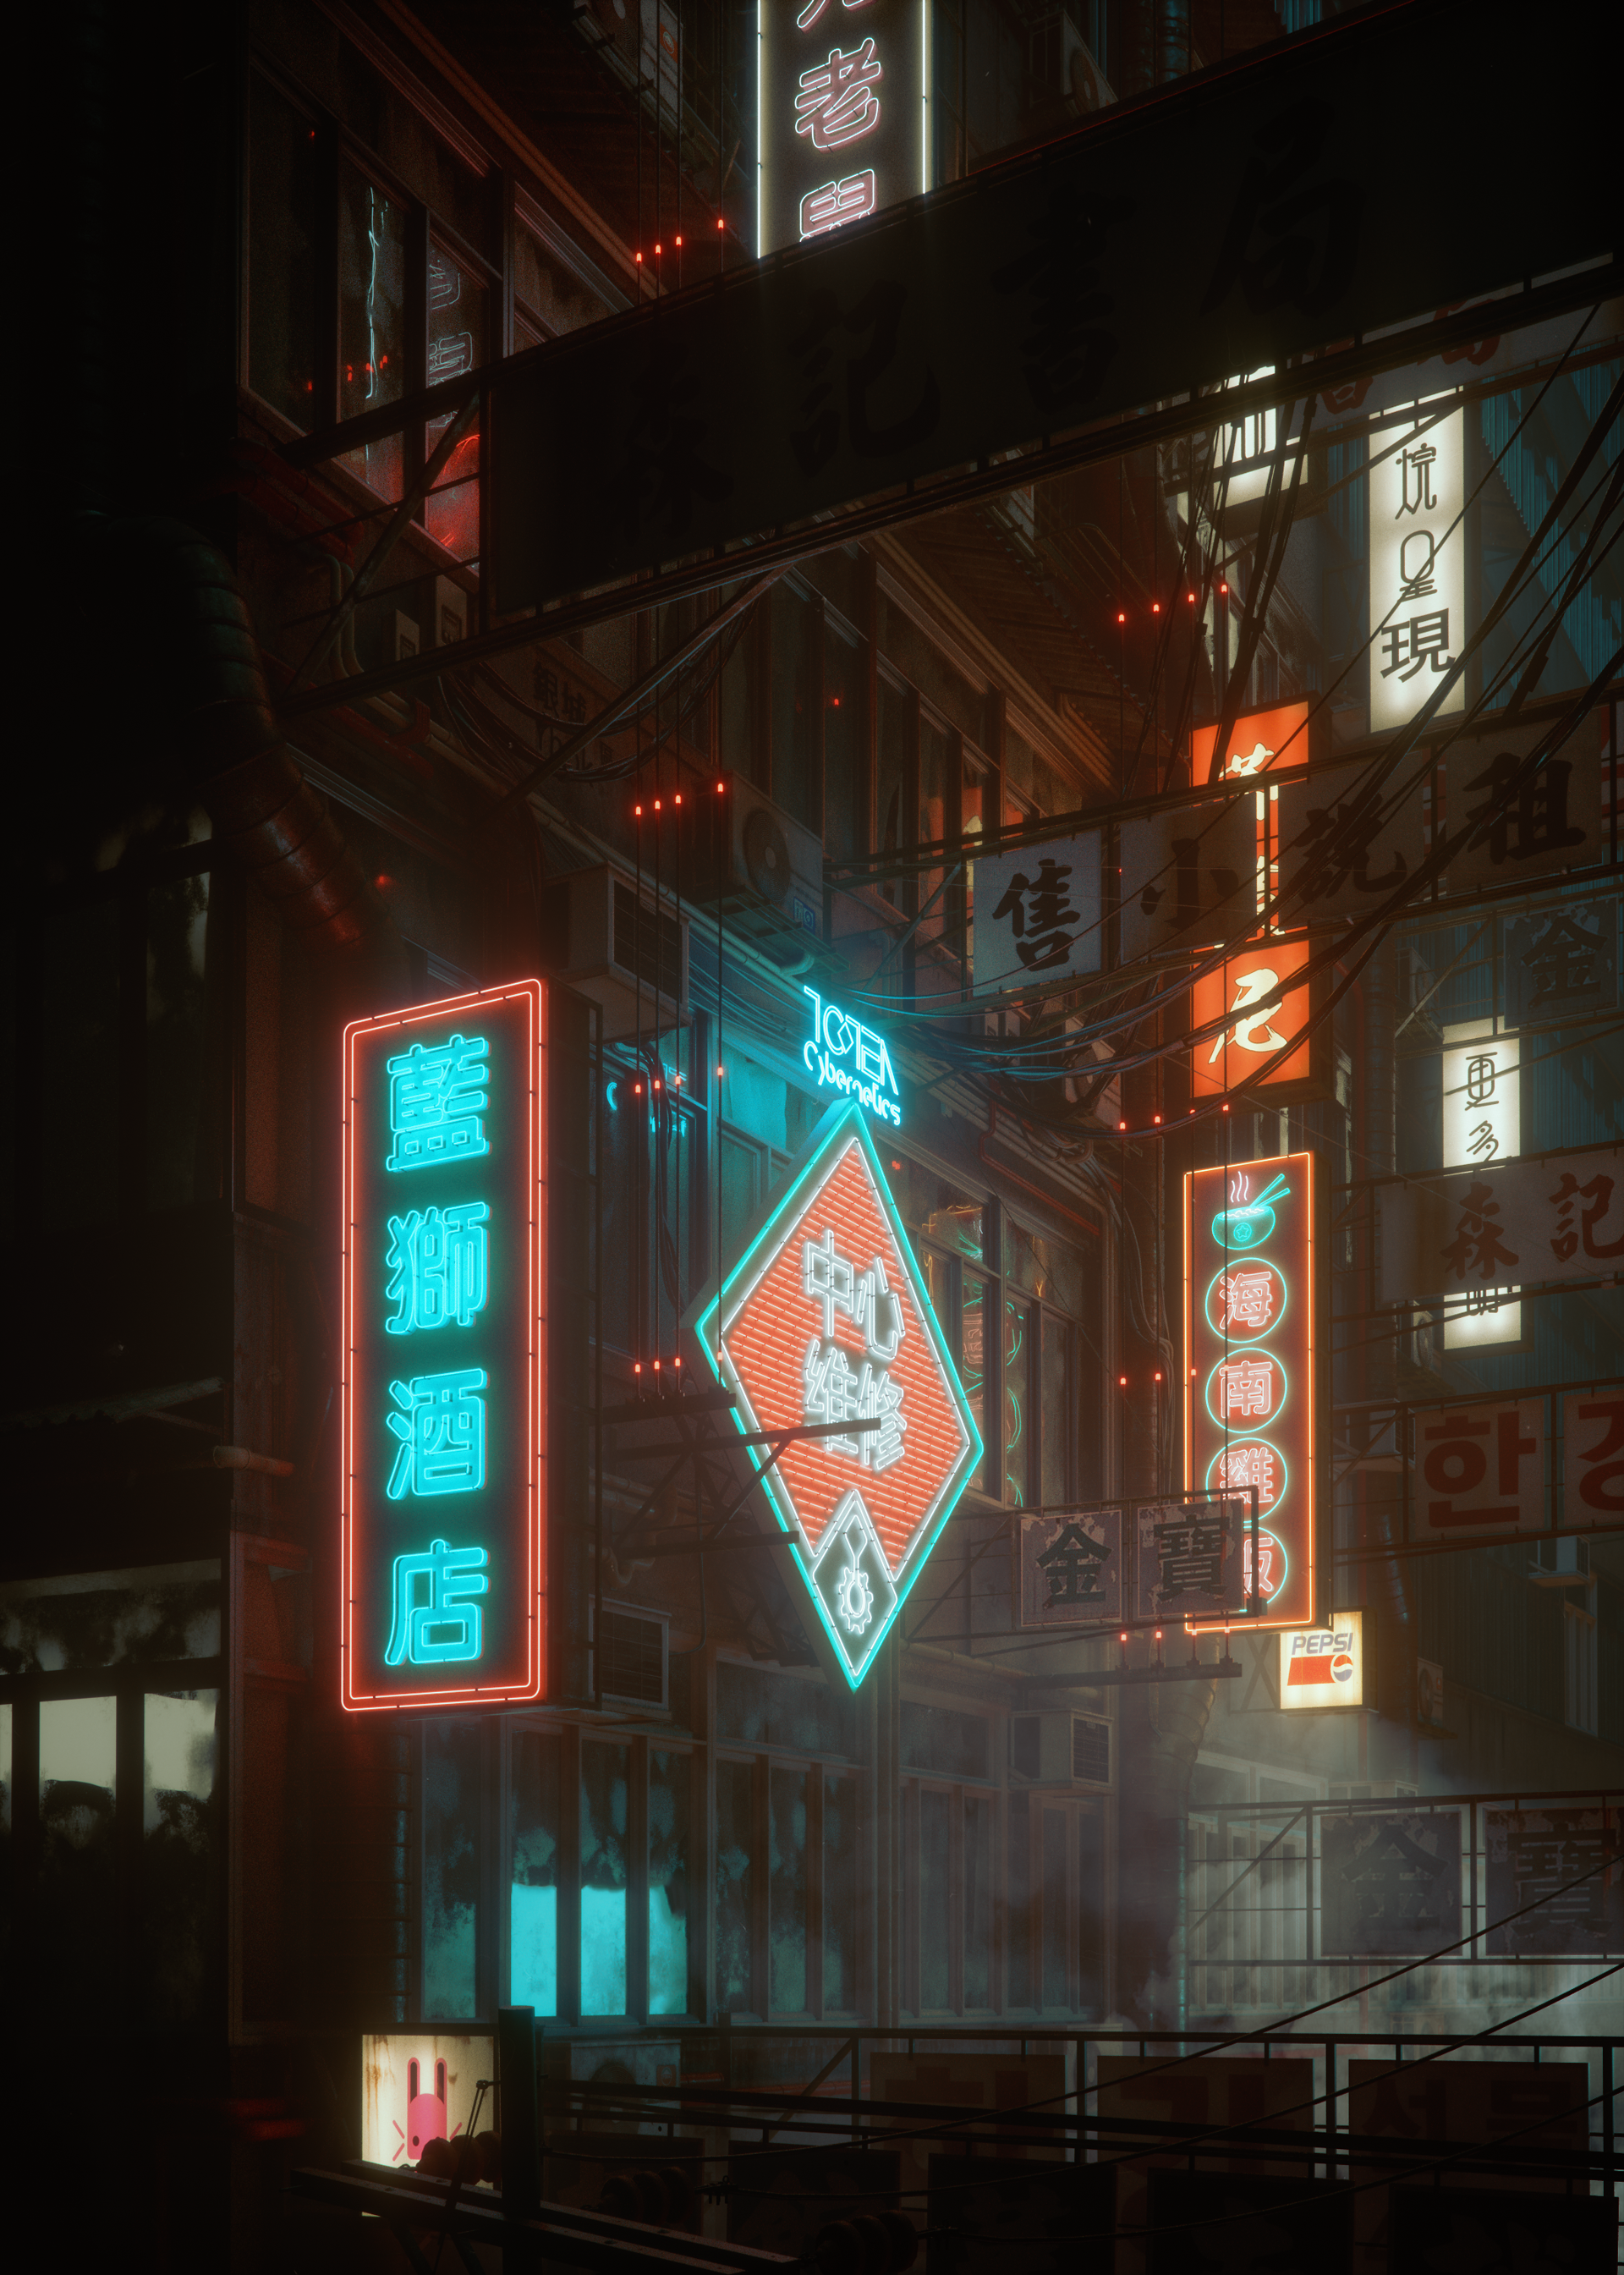
"... there must be a real reason why this so called "EvE" chose this filthy part of the city, i can't wait to get this over with ..."
Created with : CINEMA 4D,MOI3D, Processed with : Octane Render , Photoshop CC